Technology is a powerful tool in the music classroom. There are countless apps, programs, and resources available to educators that can use to enhance their teaching and explain complicated concepts with ease.
We asked a group of educators how they’re bringing technology into their music classrooms. Here are some of their tips:
Graphing Dynamic Changes
Sean Kemp, Instrumental and Choral Music, Flagstaff Academy
Use a digital whiteboard (SmartBoard) to demonstrate how composers layer dynamics throughout a piece! Students can only see their own dynamics on the page, but it’s important for them to see how different melodic lines are revealed through layered dynamics. On your screen or digital whiteboard, draw a graph of how the dynamics in each part change throughout the piece.
Set the X axis (horizontal) to represent time by marking the rehearsal numbers, and the Y axis (vertical) to represent the dynamic level from soft to loud. Ask the students to mark their dynamics throughout the piece on the board. This way, they can easily see the dynamic shape throughout the piece and how they fit into the big picture. You can also save the graph and post it on your LMS for easy reference throughout the rehearsal process.
Teach Dynamics with a Decibel Meter
Adam Davis, Director of Orchestras, Husdonville Public Schools
A decibel meter app is a great tool to teach about dynamics both visually and audibly. Use an app that tracks decibels while it records your ensemble. You can then play the recording for the students and show them how loud they were playing in decibels, and compare that to what’s on the music to make adjustments. They’ll be able to easily see the difference between loud and soft moments, as well as check phrases and items like crescendos or decrescendos. As an added bonus, you can use the audio recording to listen for intonation, vertical alignment, tone, and more.
Practice Articulations with Wave Forms
George Andrikokus, Band Director, Hinsdale Middle School
Make matching note lengths and articulations easy! Many tuner apps and programs (such as Tonal Energy) have features that show sound in wave forms. You can use this feature to visually show students the different types of articulations and have them practice each one. You can also display the tuner at the front of your ensemble and have the entire ensemble practice matching note lengths together. The wave will show if anyone continues playing after the rest of the ensemble, so students will be able to critique themselves.
Teach Everyone to Read Like a Percussionist
Sean Kemp, Instrumental and Choral Music, Flagstaff Academy
Percussionists usually encounter complicated rhythms earlier than wind players do, especially in the first few years of playing. By teaching everyone to read and perform the percussion rhythms, you can boost your other sections’ counting skills and keep everyone involved while working with the percussion section!
There are a few ways to use technology to help with this task. You can display the snare drum parts on a digital whiteboard or screen at the front of the class, or have students pull the part up on their own devices. Platforms like MakeMusic Cloud make it easy for everyone to see the percussion parts. You can also write out specific sections using a music notation software like Finale.
Teach Rhythmic Layering
Sean Kemp, Instrumental and Choral Music, Flagstaff Academy
Moving from unison to independent parts is always a challenge, but you can ease the transition by showing the students how everything lines up visually. A music notation software (like Finale) can help you create percussion-style rhythm documents where every new line of music is a layer of a four-to-eight measure section of the music. Those rhythmic “lead sheets” can be displayed for everyone to count aloud, or printed so everyone can have a copy and write in the counts for assessment.
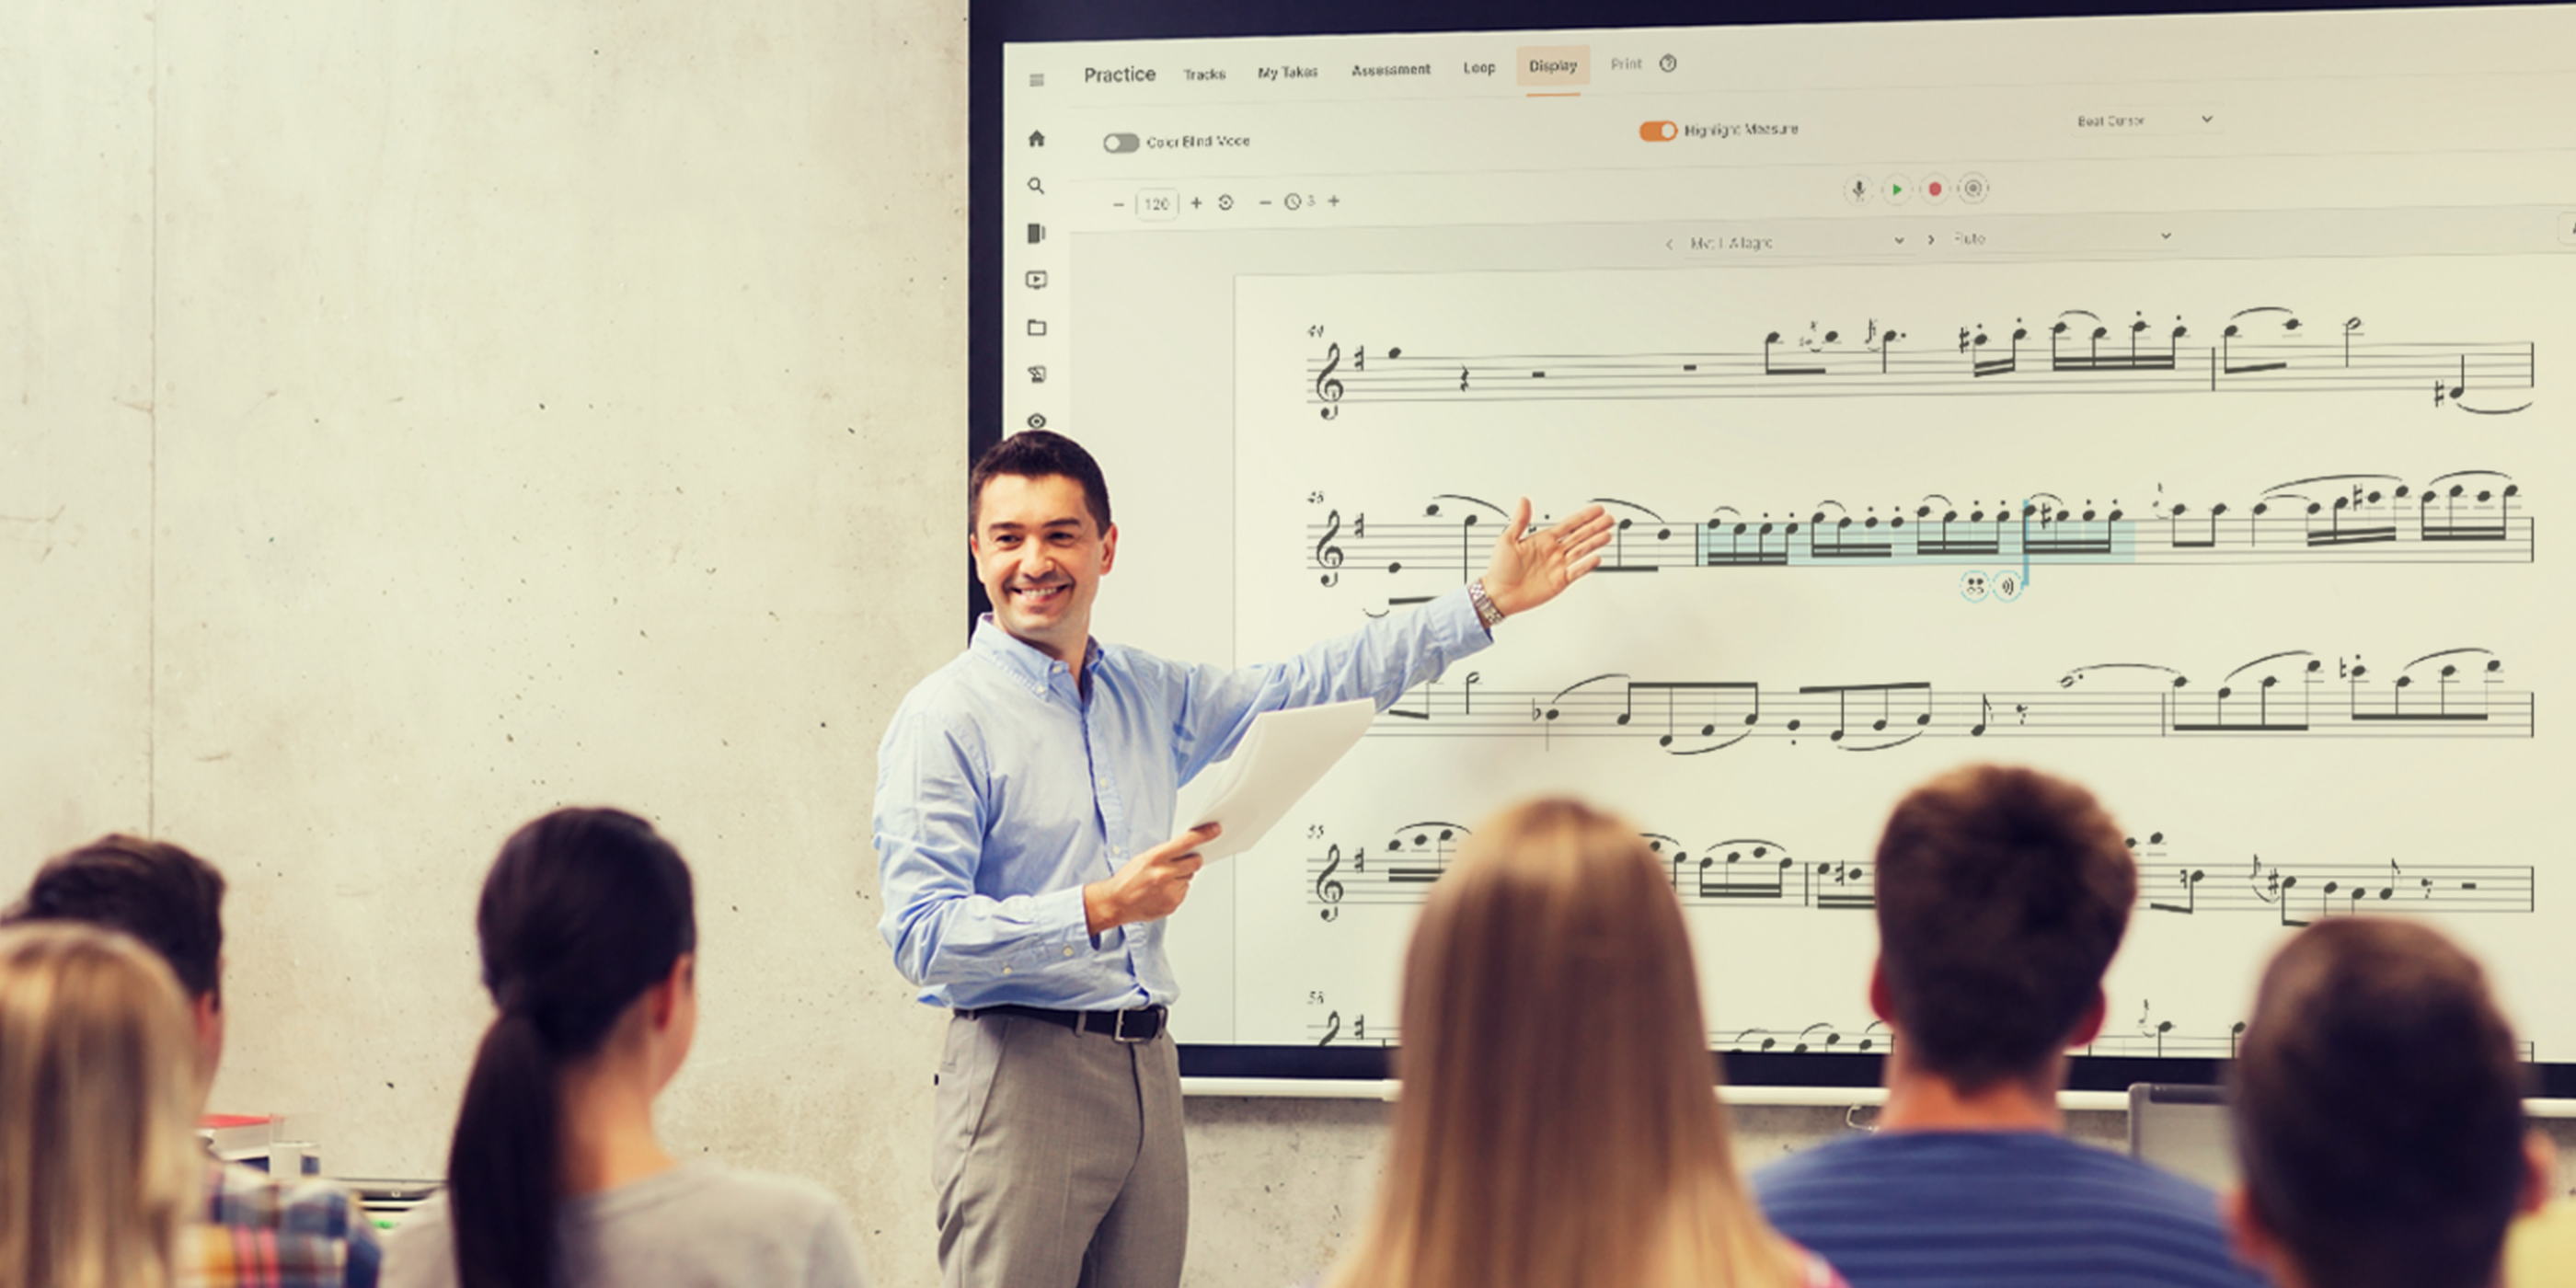
Use MakeMusic Cloud to Fill Missing Parts
Dan DiPasquale, Orchestra Director, West Hempstead Union Free School District
MakeMusic Cloud’s “my part” feature allows you to highlight a specific part in the ensemble. If a student is missing one day, or a certain section needs a little extra support, use the “my part” feature along with the playback with the ensemble. The students will be able to hear the highlighted part clearly while they play.
Free Yourself with a Bluetooth Speaker
Sean Kemp, Instrumental and Choral Music, Flagstaff Academy
Moving around the room during choir rehearsal is important. It allows you to listen to individuals and check for good technique, diction, balance, and more. If you don’t have an accompanist with you at the piano, you can use a bluetooth speaker to free you up to move around the class. Resources like Andy Beck’s Vocalize! exercises come with audio tracks you can load on a phone or computer. You can also write your own accompaniments using a music notation software, and use backing tracks for your concert music.
Create Instructional Videos and Accompaniment Tracks
Steve Graves, Music Director, Lexington Junior High School
You can use video editing software (such as iMovie or Final Cut) to create supplemental videos that align with your method books. Students can use these videos in class to work while you float between helping different sections, or as resources to enhance at-home practice.
Programs like GarageBand or Logic Pro are helpful for creating accompaniments or backing tracks. Play-along tracks can be a fun way to shake things up with beginners, as well as encourage good time and listening early on.
Streamline Parent Communication
Meghan Fulton, Band Director, Hinsdale Middle School
Assessment platforms like MakeMusic Cloud provide a large amount of concrete data about student learning. It’s easy to see which students are completing their work and understand the material, and who many need extra support. Between MakeMusic Clouds assessment tools, gradebook, and Practice Analysis tools, you can also identify why a student may be struggling. A student’s frustration can be explained if only 2 minutes of time were logged on an assignment. Whereas 20 minutes on one assignment without progress shows that intervention and assistance are necessary.
Having the data clearly displayed and accessible also makes explaining student progress to parents easier, even if they don’t have a musical background. They can see how much time their student practiced, what assignments or sections they may have struggled with, and also their successes and improvements.
Do you have a great way of using technology in your music classroom? Share it with us here—we would love to hear from you!